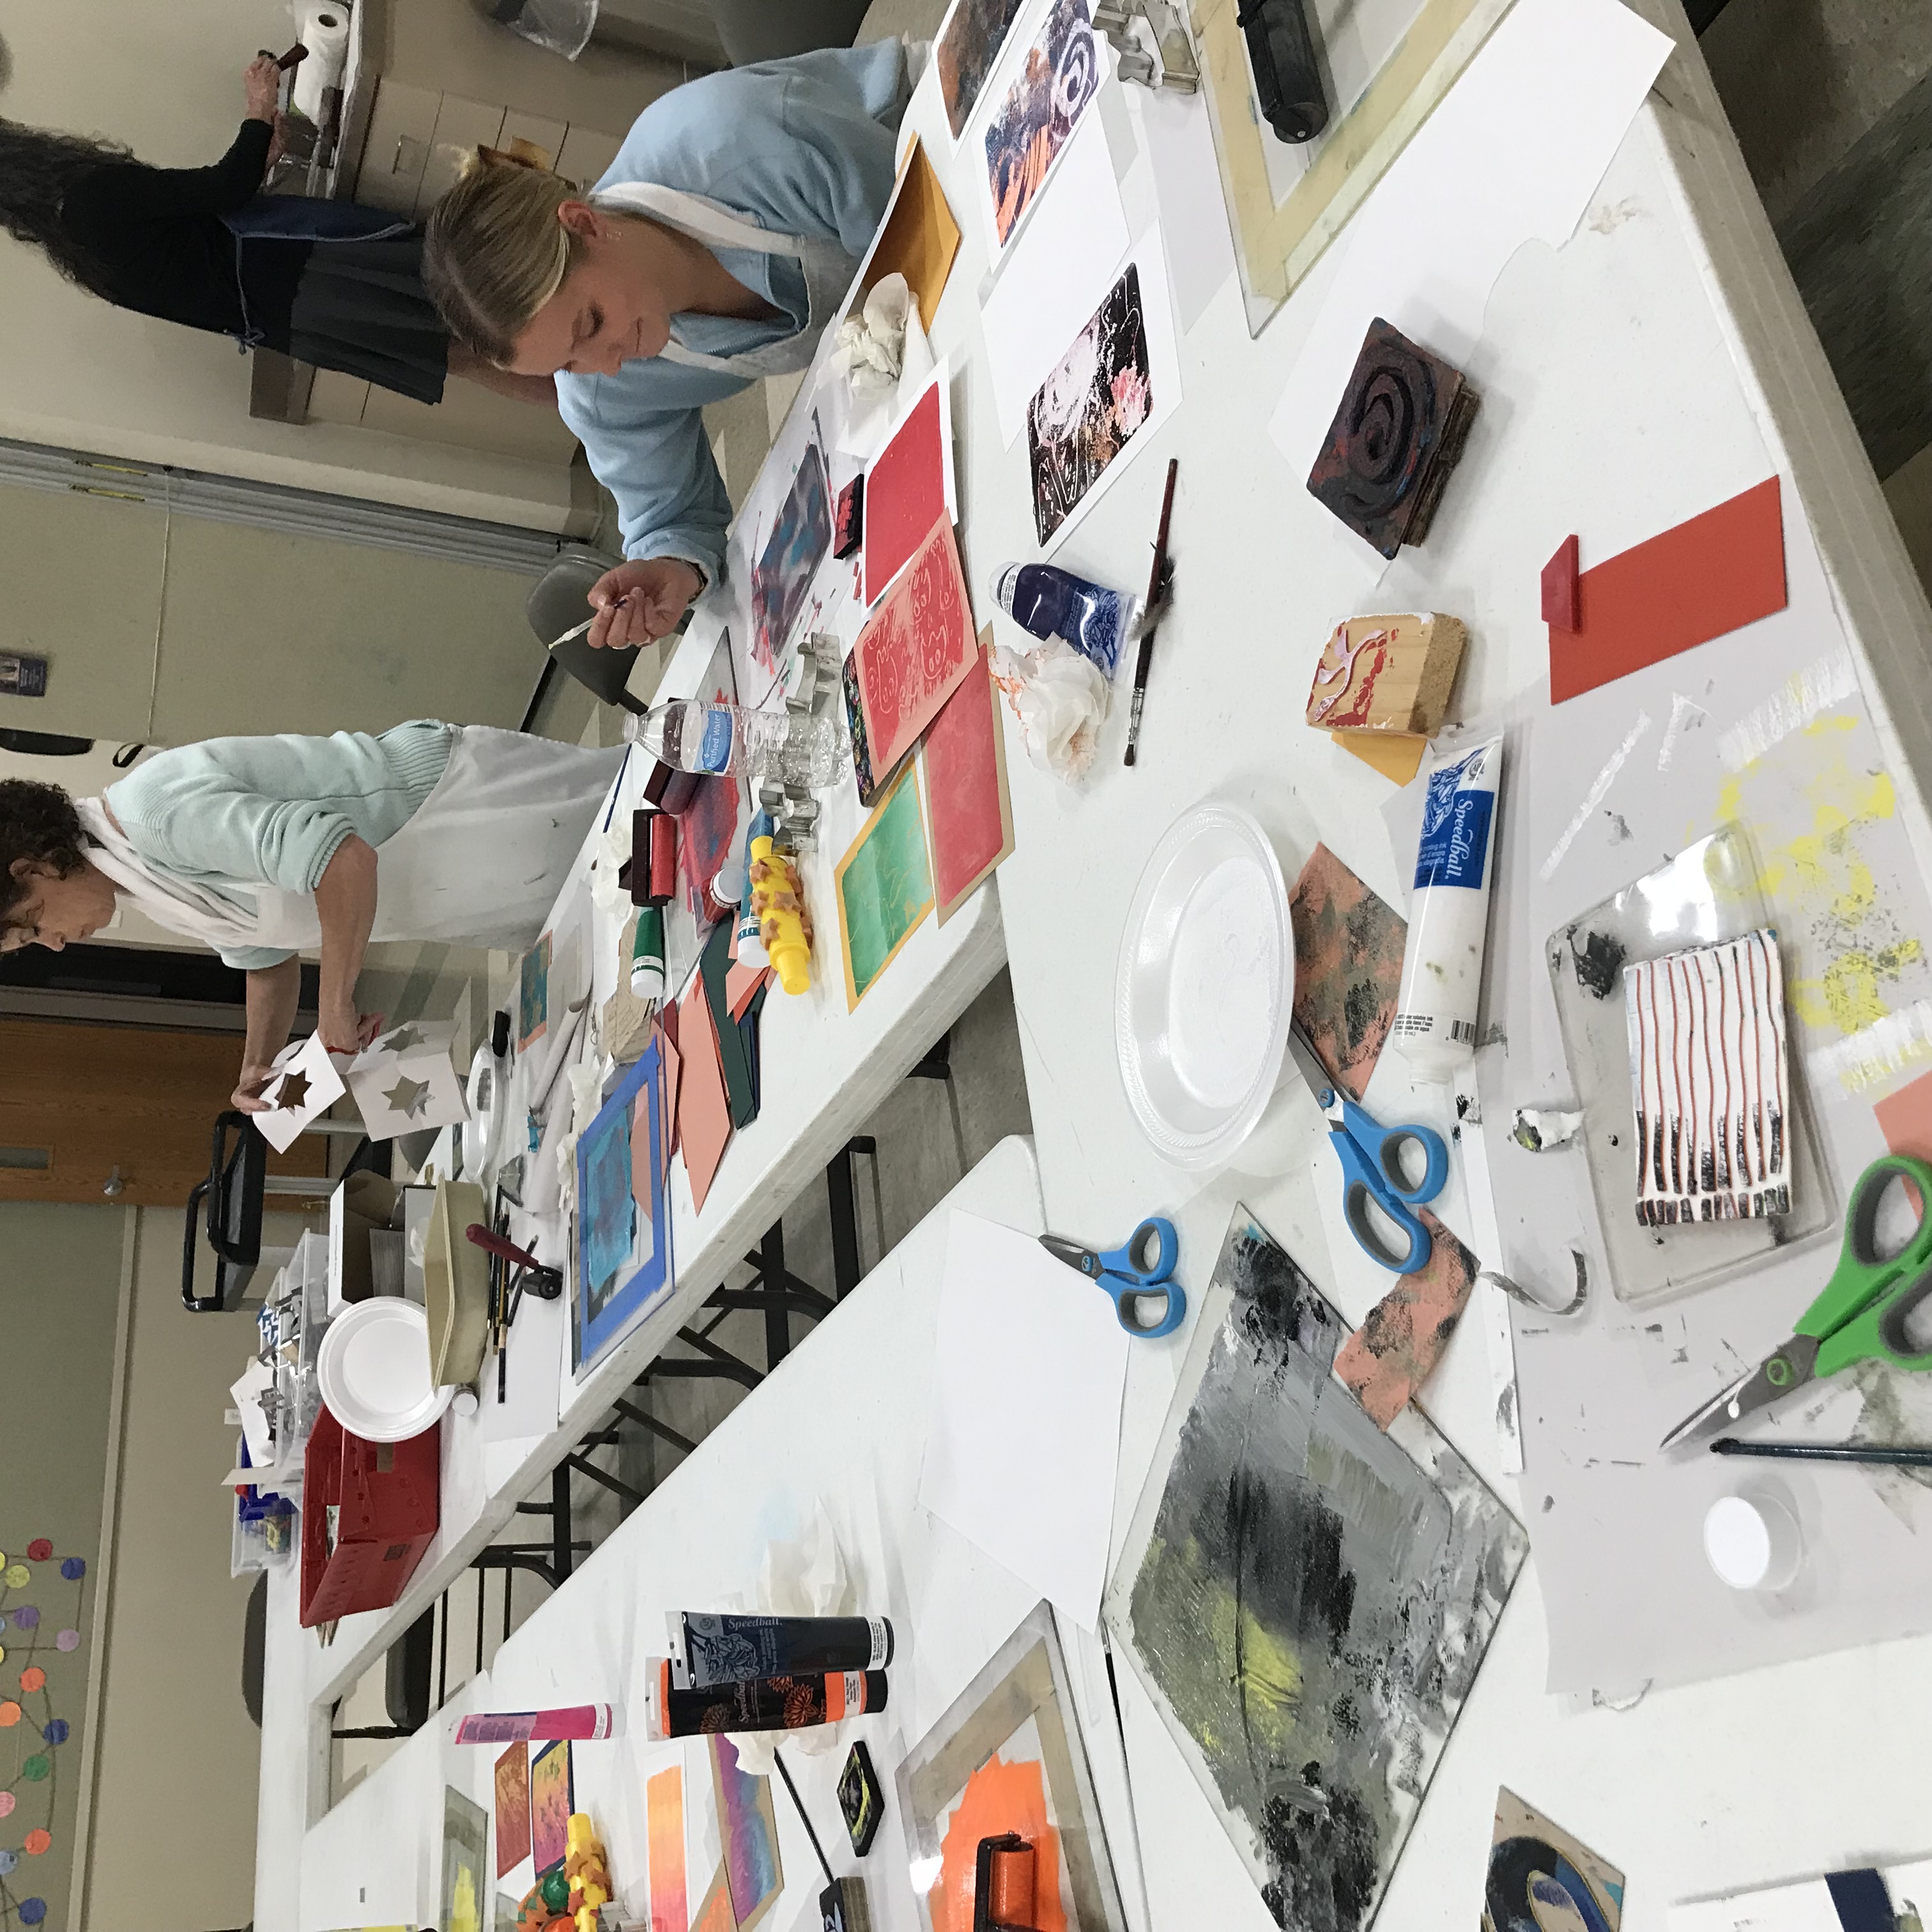
CREATE YOUR OWN GEL PLATES


SUPPLY BOX
- 4 oz (four 1oz boxes) unflavored gelatin (grocery store)
- 12 oz (two 6oz bottles) glycerin (drug store, near lotion)
- Flat rectangular pan, tray, or plastic bin — 9x13 or so (Test how much liquid it holds before beginning)
- Mixing container (heat safe)
- Measuring cup (heat safe)
- Stirring utensil (e.g. spatula)
- Strainer or cheesecloth
- A few strips of scrap paper (cut to width of pan, e.g. 9”)
BEFORE STARTING
Make sure that your rectangular pan is on a level surface. (To test, pour some water in pan and
add paper or cardboard beneath to adjust level.) I’ve made both of these recipes — both worked. Linda’s
recipe turns out more solid, makes a more durable block.
Linda Germain’s Recipe
http://makemonotypes.com
- 4 oz. unflavored gelatin (16 packets or four 1oz. boxes)
- ½ cup COLD WATER
- 1½ cups glycerin (two 6 oz bottles)
- 1½ cups BOILING water
- Combine cold water and 1 bottle glycerin. Add to gelatin powder in mixing bowl. Stir gently to combine, trying not to introduce many air bubbles.
- Add 1-1/2 cups hot water; stir gently
- Gently stir in remaining bottle of glycerin
Less Gelatin Alternative (Edie Cournover’s recipe)
- 6 T unflavored gelatin (7 packets or ~two 1 oz boxes)
- 1½ cups BOILING water
- 1½ cups glycerin (two 6 oz bottles)
- Mix gelatin and glycerin well in a heat-safe container.
- Add boiling water, stir slowly, trying not to introduce air.
- Pour melted mixture into a flat 9x13 pan (Pour through a strainer or cheesecloth to remove any lumps)
- After pouring, skim the top with a strip of newspaper to remove air bubbles. It works great.
- Let gel set. Leave uncovered on counter several hours. Or let set partially, then refrigerate to finish. Don’t move gelatin until it firms up completely.
- Remove gel plate from pan. Use your fingers to work the gel from the edges. After you break the seal, you can peel it from the pan and move it to your printing surface.
PRINTING SUPPLIES
- 4” SOFT rubber brayer(s) for rolling ink (You can use a paint brush to ink your plate if you don’t have a brayer)
- 2 flat trays or sheets of plastic: one for rolling ink; one to place gel plate on (You may like having a brayer and ink tray for each color)
- Water soluble ink OR waterbased paint (e.g. watercolor, tempera, acrylic, Speedball water soluble blockprinting ink)
- Spray bottle of water
- Masking tape
- Newspaper or magazines for blotting, testing, cleaning
- Plenty of paper towels or small rags
- Printing paper in convenient sheet size (You can also try printing on any smooth, absorbent paper: old maps, books, dictionary pages, etc.)
Other supplies
- Flat objects, grasses, paper cuts, stencils, string, etc.
- Pens, pencils, sharpies
- Scissors, exacto knife
- Cutting mat
- String and binder clips or clothespins for drying line
- Extra copy paper or plain newsprint
- Pre-cut border mask mat(s) (optional way to preserve white paper margins if printing on various block sizes)
Some techniques
- Mask (ink plate, add mask items, place paper, pull print)
- Reverse mask (do #1, but pull off ink with newsprint, then remove mask and pull print from ink remaining on block)
- Paint on block (You can use a masking tape hinge to preserve registration on multicolor prints)
- Ink plate, scrape off patterns with blunt tools (combs, credit card pieces, etc., just try not to break the gel surface)
Plate Triage
If gel comes out sticky or malformed, or tears or dries up, you can microwave it in a glass container to re-liquify (1-4 minutes, test and stir as you go) and re-pour. You may need to adjust mixture by adding water or gelatin.
Plate Storage/Care
Keep on a flat surface (e.g. a sheet of plastic) in an airtight container to prevent drying and cracking. Big ziploc bags or food storage containers work well. Gelatin/glycerin plates don’t require refrigeration, but will
last longer refrigerated. (Eventually, gelatin can grow mold, but it can keep 2-4 months refrigerated.)
Printing Surface
A flat and waterproof surface works well (sheet of plastic, flat tray, etc.). A clear surface (e.g. plexi) allows you to trace designs or see registration marks beneath. Before placing your printing plate, it’s helpful to mark an outline of your paper sheet size with masking tape and center the gel plate within it.
To clean plate
Spray with water and gently wipe with paper towels or soft rags. Try not to break the surface of the plate with sharp items, or by pressing with too much force, etc. The plate can tear if you’re not relatively gentle with it. (See Plate Triage)
Experiment printing
Explore with water-based ink, tempera, watercolor, or acrylic paints. (If using acrylic or ink, it’s necessary to keep supplies and workspace clean and/or damp, so paints don’t dry on tools and surfaces.)
No glycerin alternative recipe
You can make a gel plate without any glycerin, but it will melt at room temperature, so you must occasionally re-cool it. Plain gelatin plates are more fragile and don’t keep as long, but they still work fine. Use 2 Tablespoons of gelatin for each cup of liquid.
Permanent Plates
Gelli Arts brand Gelli Printing Plates are available online. You can wash them under a faucet and they don’t need to be refrigerated.
Download a PDF of the recipes and information here!